Remember when we did those adorable Wooden Owls from the Wood Connection…and they gave a set away. Well, we have teamed up with them again to feature this beautiful silhouette nativity.

When the Wood Connection sent both of us a wooden nativity, Kari and I each had such different ideas on how to decorate it…such is the case with crafting, right?
I have pretty muted Christmas decor in my home. I tend to lean toward gold and white; not a lot of color and bling. My style is pretty muted…which is weird because I am not a very muted personality. So, with my nativity I wanted to add some color. I decided to make it with my kids and have it be something they can display every christmas and rearrange to their heart’s content.
We got out the glue, paint brushes, and glitter…LOTS of glitter.
BECKY’S GLITTER NATIVITY

Supplies Needed:
- Rust-oleum KONA wood stain
- fine grain glitter
- glue
- fine grit sandpaper
- paint brush
- foam brush
- High gloss spray sealer
Directions:
Step #1: Sand and smooth the wood.
Step #2: Make sure to wipe all the dust off before you stain. Using a foam brush, stain all sides.
Step #3: After stain is dry, pour some glue on a paper plate and grab your paint brush.
For Mary, Joseph, the star, and the animals: Paint on a light coat of glue and sprinkle on desired color of glitter.
For the Wisemen: paint glue on the crown piece then add glitter. Next paint glue on the gifts, add glitter. Finally, paint the rest of the wiseman and add glitter. Use your fingers to push glitter up around where the two colors meet up.
For the Shepherd: Paint the glue on the shepherd’s staff first, add the glitter. Then paint the glue above the staff, add glitter. Finally, do below the staff. Remember to use your fingers to spread the glitter where the different colors meet.
For Baby Jesus: Paint the glue on the entire manger and cover with brown glitter. Then add glue to baby Jesus and glitter him white.
Step #4: Spray high gloss sealer on the entire nativity set. This will help keep glitter from getting scatter everywhere when the pieces are played with.

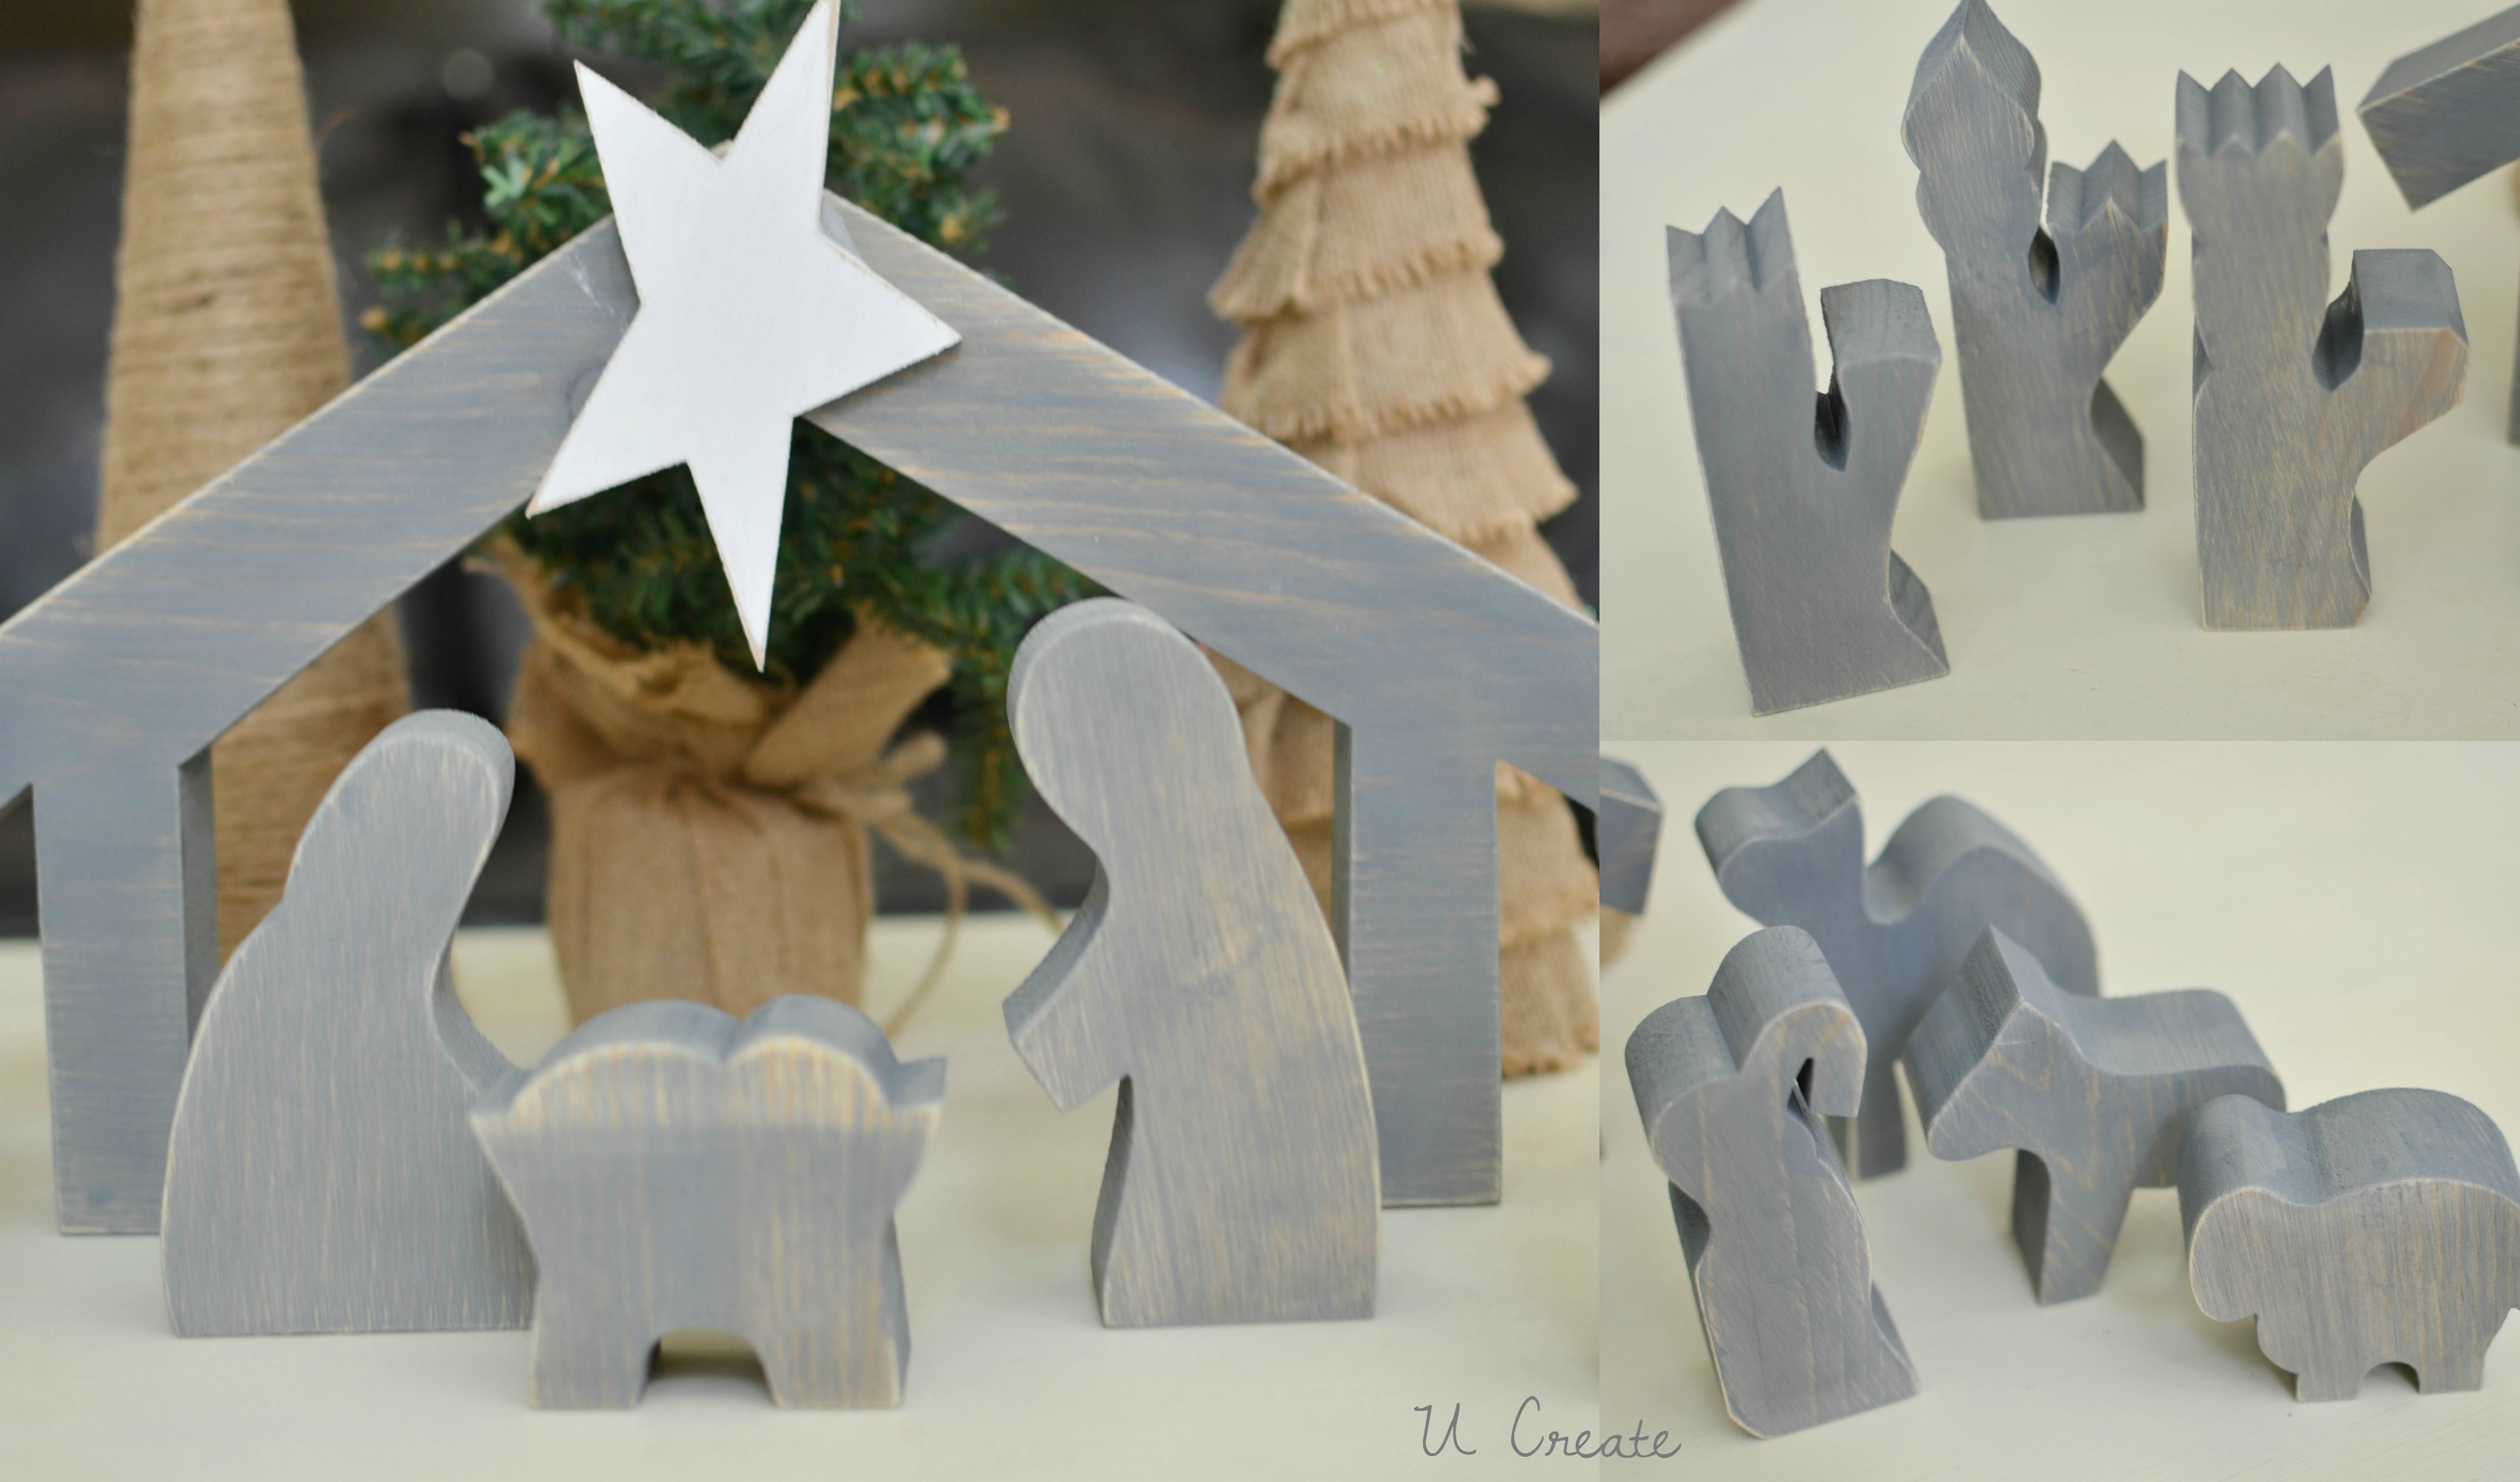
KARI’S WOOD-STAINED NATIVITY
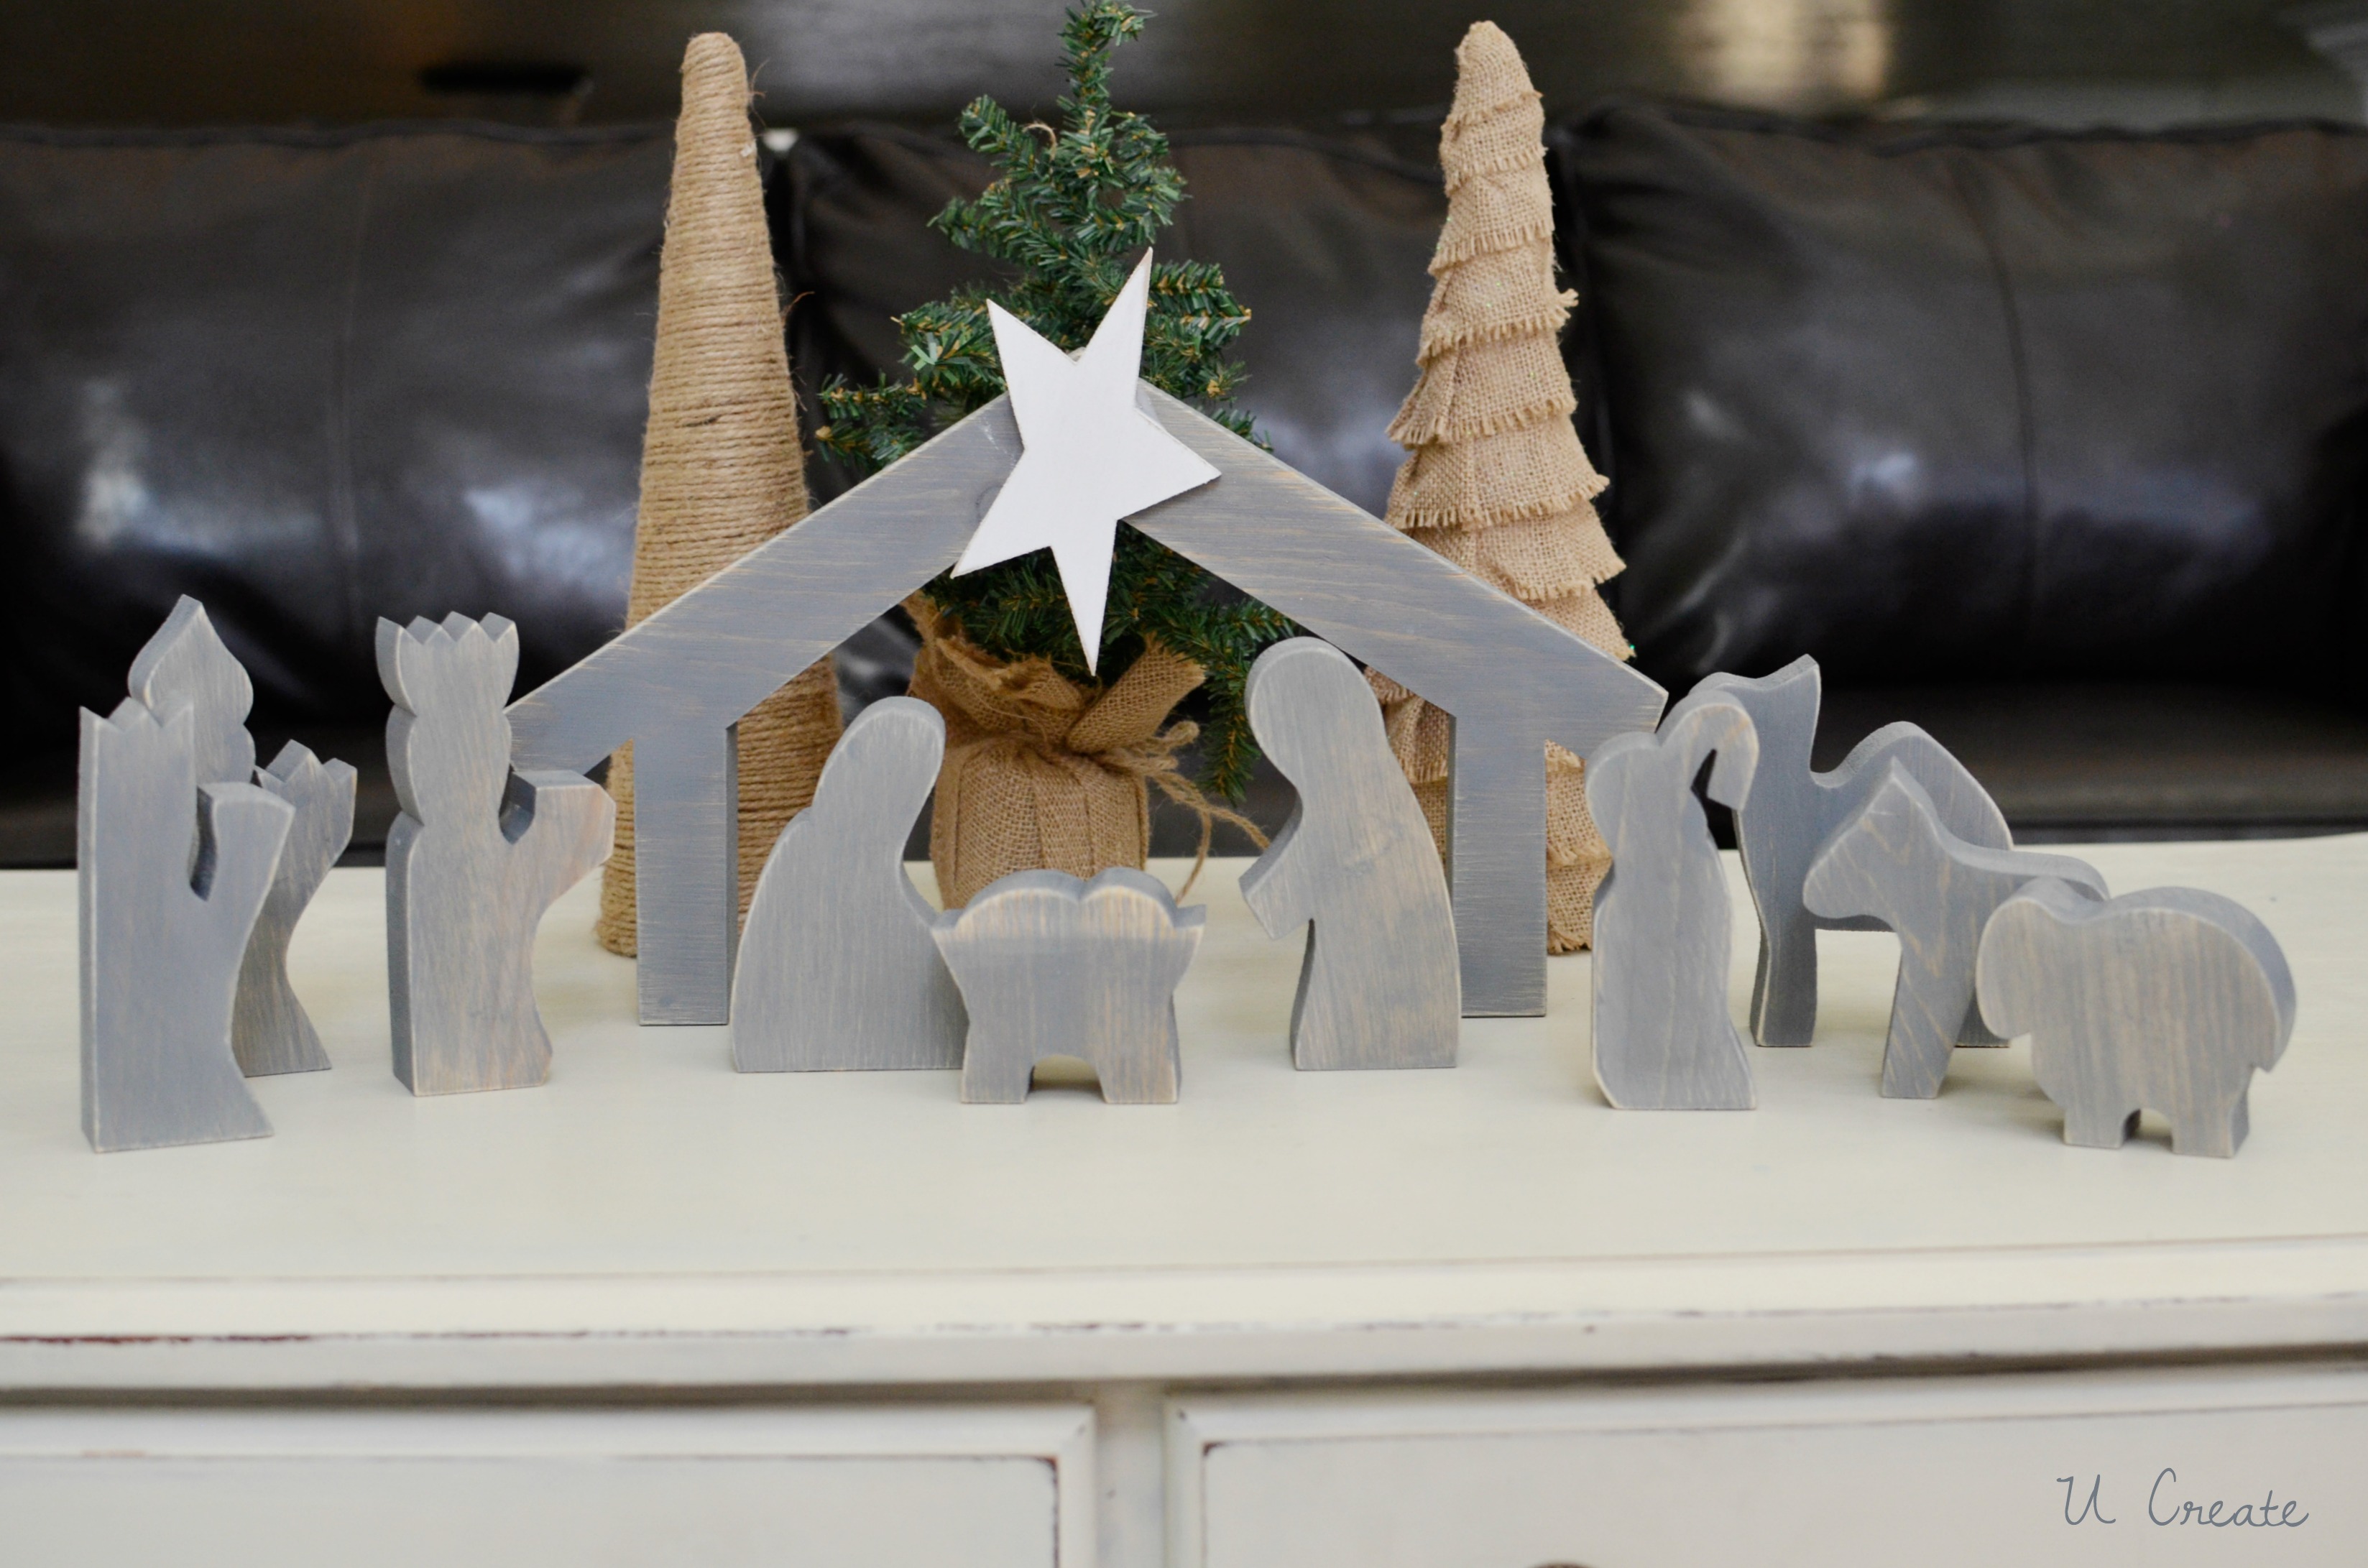
I decided to go with something neutral and I wanted the wood grain to show so instead of using paint I decided to try out a wood stain for my nativity. I love the result and it looks great in my living room!
Supplies:
- Weathered Gray Wood Stain by Rustoleum (small container in the craft section by the paint)
- sand paper or block
- foam brush or paint brush
- rag (to wipe off stain)
- white acrylic paint
Directions
- Sand all surfaces and make smooth before staining.
- Brush on a thick layer of stain and let sit for about 30 seconds – wipe off stain until you get desired shade. CRAFT TIP: Make sure to do one figure at a time or the stain will dry and you won’t be able to wipe it off.
- Paint the star with acrylic paint — I used white.
- After completely dry, sand the edges to add texture.
It’s fun to see two very different looks with the same nativity. Now grab one from The Wood Connection store and let’s see what beautiful thing you create. Make sure to send us a photo on our Facebook page or tag us on instagram (@ucreateblog)
Post by Becky @ U Create

The post UCreate Nativity appeared first on The Wood Connection Blog.
No comments:
Post a Comment